ps怎么抠公章 photoshop抠公章图文详细教程
时间:2024/9/24作者:未知来源:盾怪网教程人气:
- [摘要]photoshop怎么抠公章,相信对于很对ps初学者都不是很了解,但这个技巧非常实用,在很多公司日常文件盖章中都需要,今天小编就给大家讲讲ps如何抠公章,希望能帮助到你! photoshop抠公章...
photoshop怎么抠公章,相信对于很对ps初学者都不是很了解,但这个技巧非常实用,在很多公司日常文件盖章中都需要,今天小编就给大家讲讲ps如何抠公章,希望能帮助到你!
photoshop抠公章教程
手机或相机(像素越高越好)将需要的印章拍照!
把照片放到ps上,把印章部分裁剪出来!
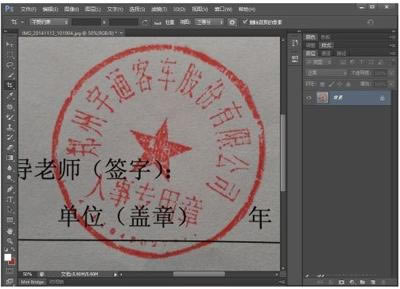
使用印章工具把黑色字体去掉!同时把印章红色部分修复一下!慢慢来!
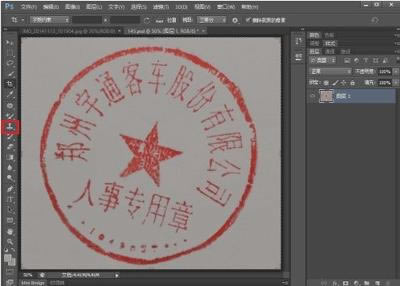
使用色阶工具将红色部加深!
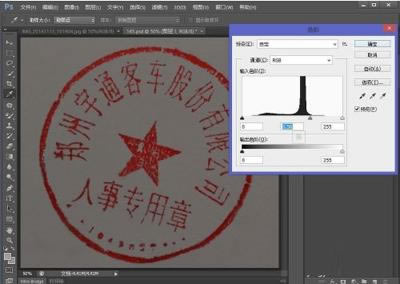
选择-色彩范围-吸取颜色 容差设为200,之后吸取图章上的红色!
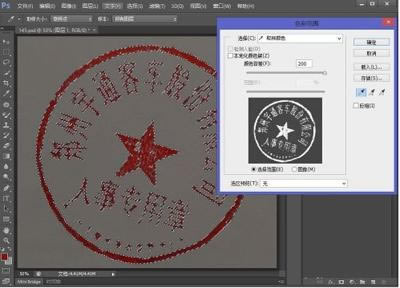
确定后,添加矢量蒙版,创建新图层,并填充成白色,放置在背景层下!
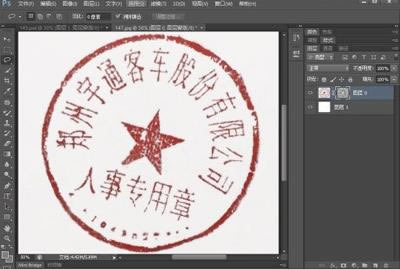
调整颜色至适当,保存成jpg或png格式图片!
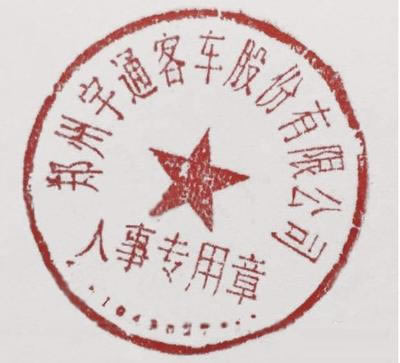
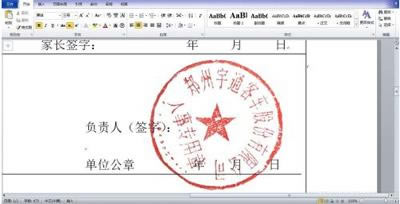
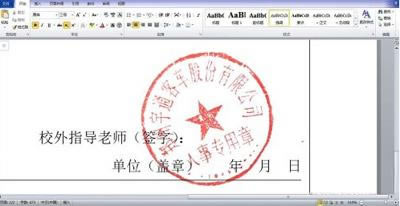
将需要加盖图章的word文章打开,添加图片,设置为浮于文字下方,自己调整印章大小,位置,颜色,透明度设为50%。总之自己比对,越像越好!下面有我自己做好的!
总之,像与不像全看自己细心不细心!
装机软件,全自动在线安装过程,无需电脑技术,小白在家也可自己完成安装,纯净稳定,装机必备之选!