可牛影像怎么抠图 可牛影像抠图图文详细教程
时间:2024/10/25作者:未知来源:盾怪网教程人气:
- [摘要]可牛影像抠图教程:在可牛界面右上角选择“打开”,找一张喜欢的图片开始吧!然后点“抠图”。有三种模式可选。智能抠图,手动...
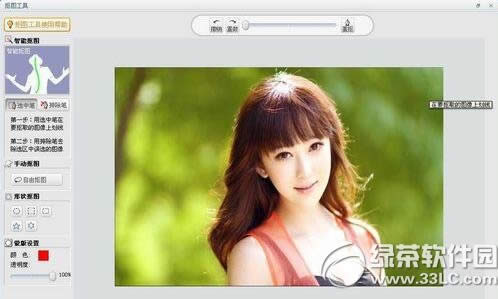
可牛影像抠图教程:
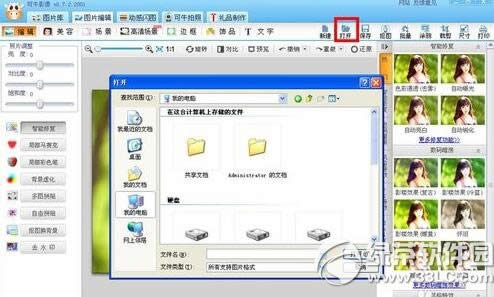
在可牛界面右上角选择“打开”,找一张喜欢的图片开始吧!
然后点“抠图”。
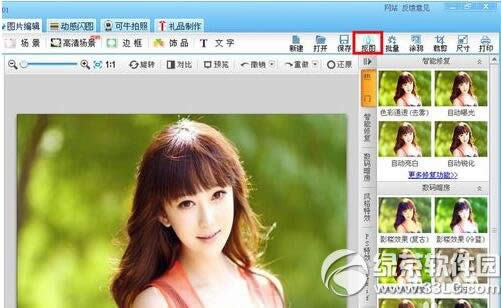
有三种模式可选。智能抠图,手动抠图,形状抠图。
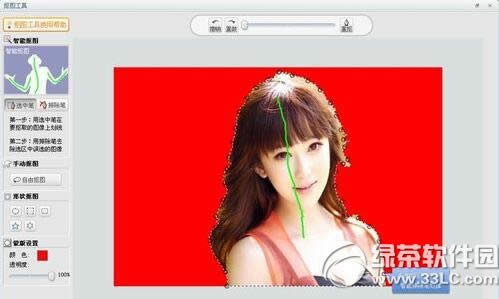
【智能抠图】适合一般的抠图要求,只要简单几笔,就能抠得差不多了。
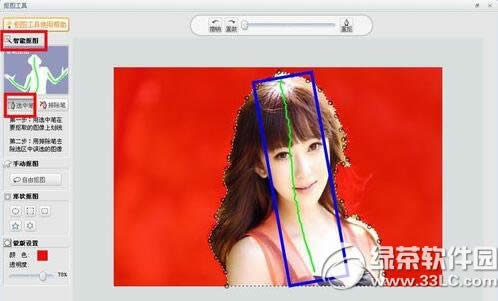
如果扣错了,可以“撤销”。

如果抠得不理想,可以用“排除笔”去掉多余部分。不要画太多线,多了反而不精准。
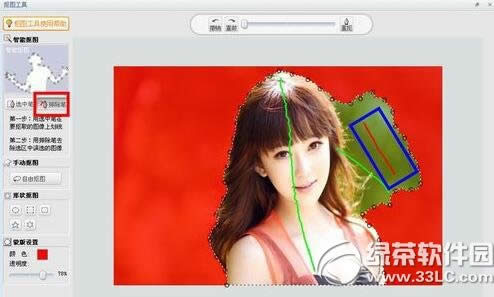
如果抠得很乱,可以选择重抠。

【手动抠图】适合对照片要求比较精细的用户。
首先找到保留区域和消除区域的边界线。在线上点左键。然后不断沿着边线画点就行了。这个需要耐心。
【形状抠图】适合要抠特定形状的用户。
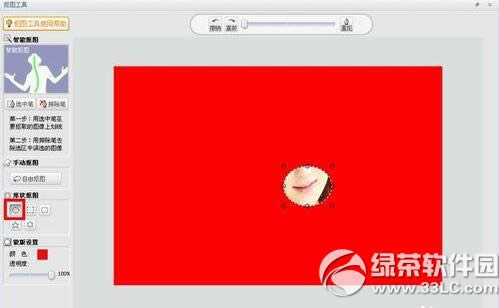
如果扣完一部分想保存,点击下面的“另存为文件”。
如果全部扣完,点击“完成抠图”。
以上就是绿茶小编为大家介绍的可牛影像抠图教程,希望能够帮助到大家,如果想要了解更多资讯请继续关注绿茶软件园。
可牛影像场景如何制作 可牛影像场景制作教程
可牛影像怎么给人物换背景 可牛影像换背景教程
学习教程快速掌握从入门到精通的电脑知识
关键词:可牛影像怎样抠图 可牛影像抠图图文详细教程