怎么调出炫丽光影图案效果的PS图文详细教程
时间:2025/2/25作者:未知来源:盾怪网教程人气:
- [摘要]今天讲解的内容是:光绘创意摄影,从前期拍摄到后期处理,非常有干货的一篇作品,推荐给朋友学习,希望大家可以喜欢。光绘创意摄影,现在很多人都有拍,风光夜景、星空摄影都能看到光绘的影子,用来绘制光线的工具...
今天讲解的内容是:光绘创意摄影,从前期拍摄到后期处理,非常有干货的一篇作品,推荐给朋友学习,希望大家可以喜欢。
光绘创意摄影,现在很多人都有拍,风光夜景、星空摄影都能看到光绘的影子,用来绘制光线的工具也非常多,钢丝绵、荧光笔、手电,还有更厉害的光绘棒,其实掌握住方法,拍摄并不难,那么具体要如何操作呢!
今天讲解的内容是:光绘创意摄影,从前期拍摄到后期处理,希望朋友可以喜欢。
阅读时间20min
例图:拍摄于大连旅顺

关于前期拍摄:
一、拍摄器材:相机镜头、三脚架
二、拍摄道具:钢丝绵?打蛋器 ?剪刀 ?一小段钢丝绳?打火机,这些x宝上面有专门卖的
三、拍摄时间:日落后半个小时左右 日出前半小时左右,(日落时分拍摄,时间太早的话 天空还比较亮 快门速度慢不下来 捕捉不到完整的光绘,可能还得加减光镜,拍摄时间太晚的话 整体会比较暗 环境细节会减少很多)
四、相机设置:m档 光圈f8左右 感光度100 快门速度一般在5-10s钟,具体快门速度根据甩火花的速度快慢和光绘图案的复杂程度(适当的调节光圈和感光度控制曝光量)
五、对焦问题:甩火花的小伙伴儿,先就位,拿起手电筒照亮自己,增加自己和环境的反差,相机AF自动对焦,对焦完成后 改为手动对焦MF
六、一切就绪后,点燃钢丝绵,开始缓缓的甩开 至于造型或者图案 形状什么的 就发挥自己的想象来(如果涉及到改变位置,最好是同一焦平面上走动)
这样拍摄下来,基本上没啥问题了
关于后期处理:
原片:

1、在camera raw中打开原片;


2、简单调整明暗,颜色,初步锐化 降噪;接下来大部分的工作都在ps中完成

3、打开到ps中精细调整
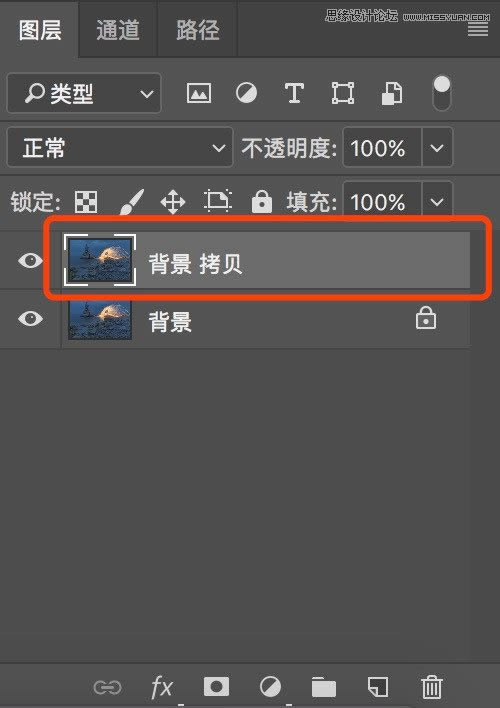
4、ctrl+j复制背景图层;

5、打开灰度蒙版动作,生成灰度蒙版,还不了解灰度蒙版的朋友可以点击之前的教程
传送门:【原创】风光后期中最重要的灰度蒙版 3s建立无数个灰度选区

6、建立完成后,到通道里面,找到最终中间灰,键盘按住ctrl键,左键点击,调出中间灰的选区

7、有了选区之后,点击曲线调整图层

8、拉一个s曲线,增加中间灰度的对比度(并不会影响暗部和高光)关于曲线的教程
传送门一:【原创】抛开颜色 如何用“曲线”调整明暗关系新思路
传送门二:【原创】“曲线”在调色中的重要应用 详解
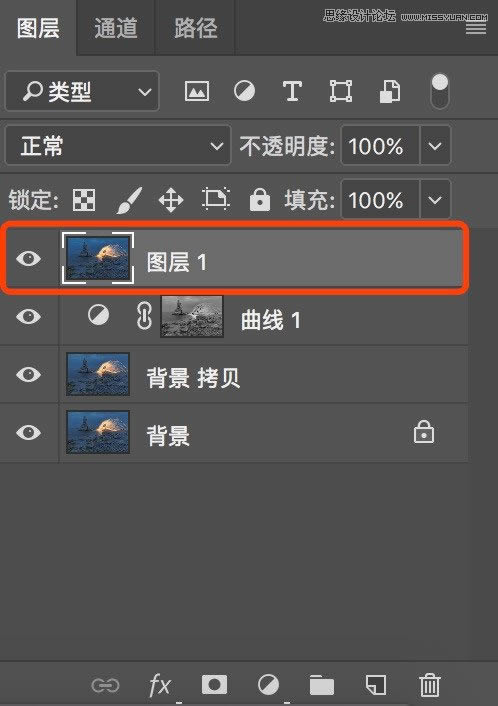
9、ctrl+shift+alt+e,盖印图层

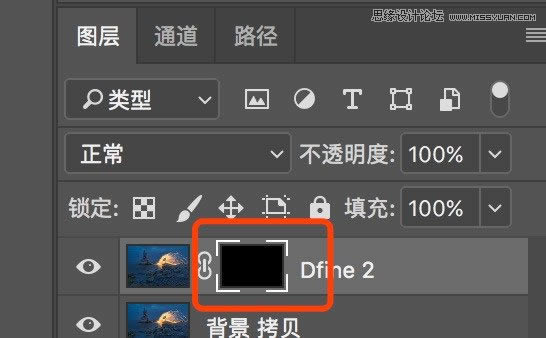
10、继续增加对比度,打开Nik Collection—Color Efex Pro 4;

11、找到色调对比度,使用默认值,点击ok(默认值的强度较大,不适合整张图片,先点击ok,然后生成黑色蒙版,白色画笔刷出需要的部分)
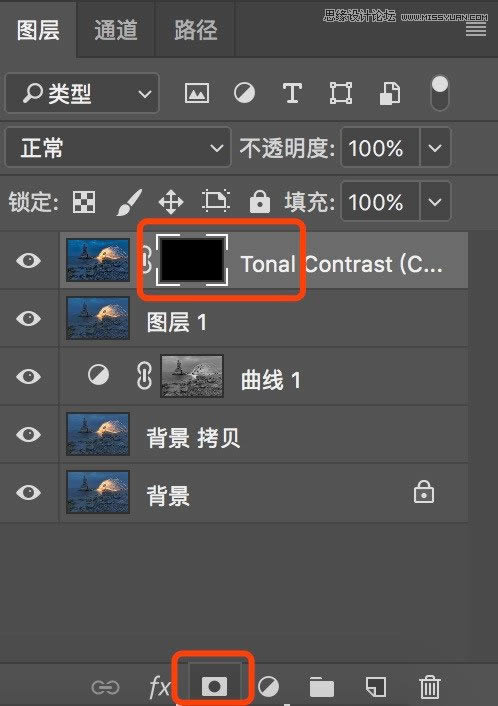
12、生成黑色蒙版,键盘按住alt键,左键点击蒙版

13、画笔工具,前景色白色,最软的画笔,不透明度和流量25%左右,在画面中需要增加对比度的地方刷出来

14、增加对比度之前

15、增加对比度之后,黑色蒙版上面的白色是刷出来的部分;
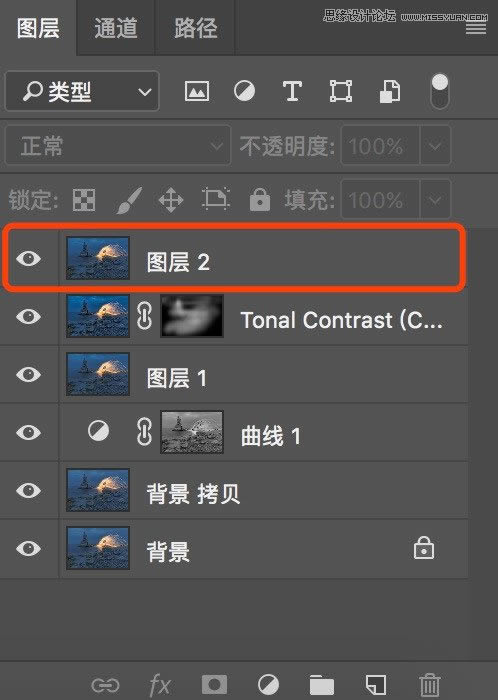
16、继续ctrl+shift+alt+e,盖印一个图层;

17、打开Nik Collection—Color Efex Pro 4;

18、找到淡对比度,所有的数值默认都是0,这里把动态对比度增加15

19、点击确定后,把刚刚增加色调对比度的蒙版复制到淡对比度上(图上增加对比度的区域大致相同,键盘按住alt键,左边左键拖动蒙版到上面的图层,复制蒙版)

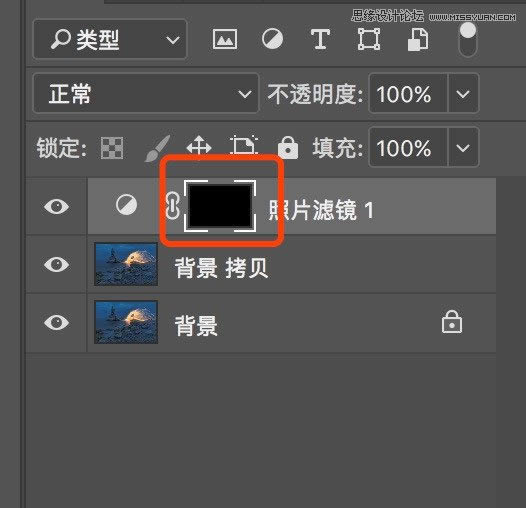
20、接下来颜色调整,点击照片滤镜—加温滤镜;
21、ctrl+I把白色蒙版反向成黑色蒙版

22、使用白色画笔,在画面中需要加暖的地方涂抹(光绘和反光石头的区域)

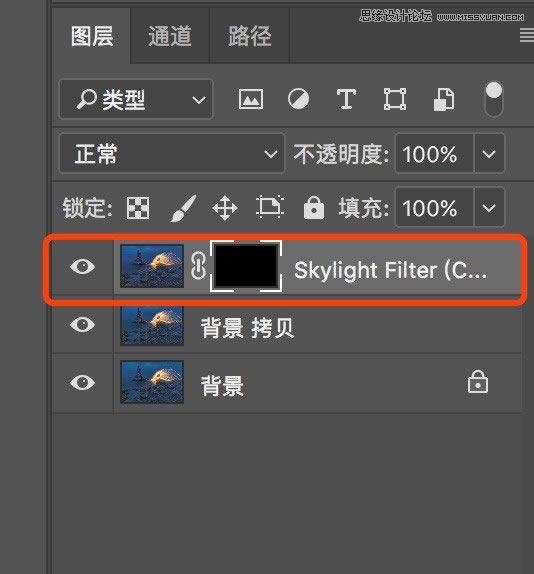
23、打开Nik Collection—Color Efex Pro 4

24、选择天光镜,默认参数,点击ok
25、生成黑色蒙版,键盘按住alt键,左键点击蒙版
26、使用白色画笔,在画面中需要加暖的地方涂抹(光绘和反光石头的区域)进一步加强暖色
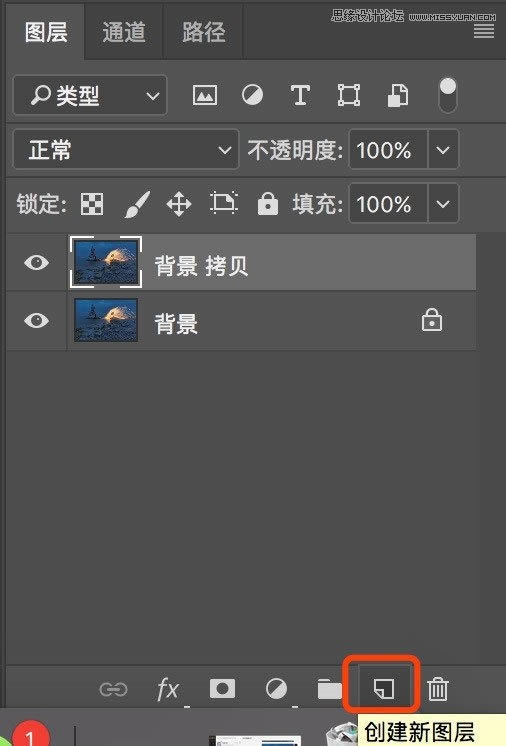
27、键盘按住alt键,左键点击创建新图层
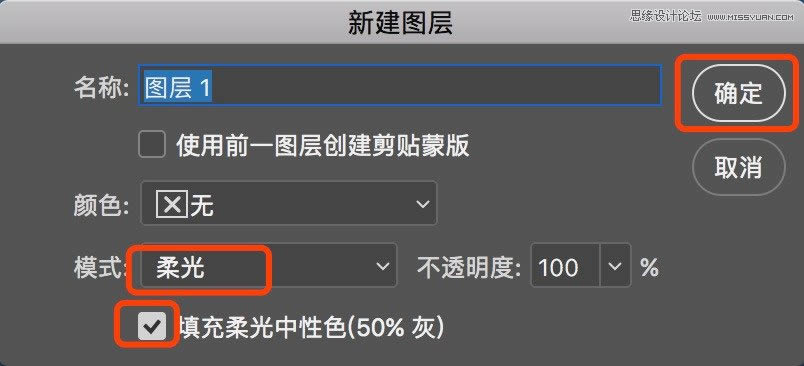
28、融合方式选择柔光,打勾

29、在新建的中灰度图层上,用白色画笔和黑色画笔,增加局部明暗,也可以增加一个暗角,基本上调整完成,后面降噪、锐化和输出;

30、打开dfine2降噪插件

31、降噪结束后,生成黑色蒙版

32、用白色画笔,在需要降噪的区域涂抹,主要是天空部分和海面部分(这个时候的不透明度和流量可以高一些)
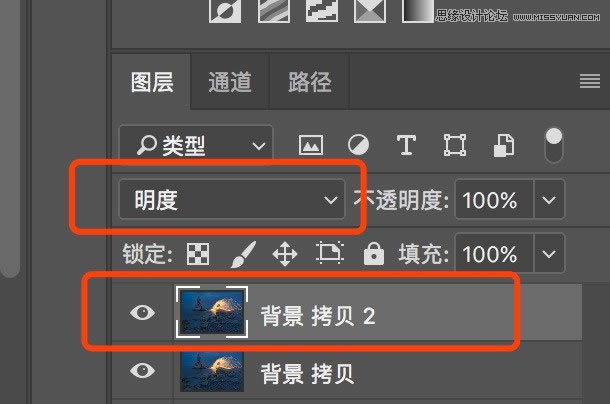
33、降噪完成后,拼合图层,复制一个背景图层,融合方式改为明度;

34、选择滤镜—锐化—智能锐化

35、半径尺寸2个像素左右
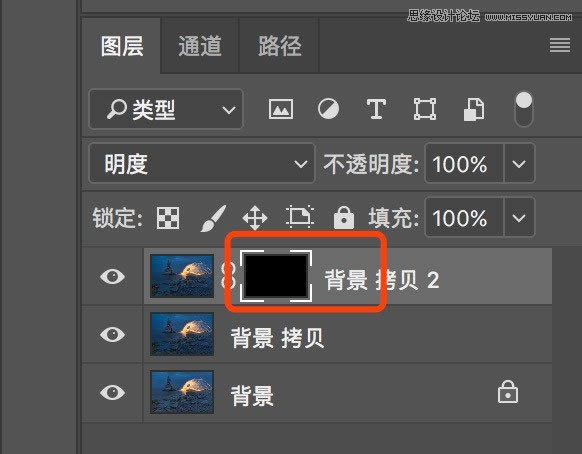
36、为锐化的图层,生成黑色蒙版

37、用白色画笔刷出需要锐化的区域,主要是光绘部分和礁石部分(这个时候的不透明度和流量可以高一些)到这里基本上就可以保存psd文件了,那么接下来就输出用于分享和网络用图,二次锐化;

38、合并可见图层
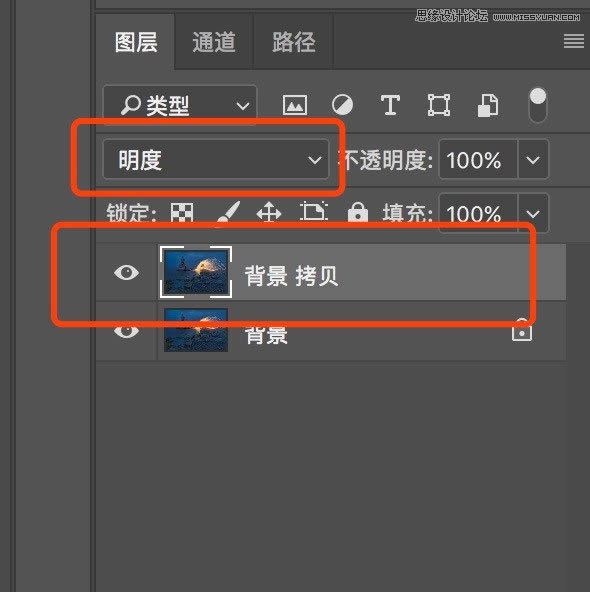
39、复制一个背景图层,把融合方式改为明度

40、图像—图像大小

41、把长边儿改为,我们想要输出尺寸的两倍,比如我这里是想要最终输出长边2000像素的,那这里就先改成4000;

42、再次点击锐化—智能锐化

43、这个时候的半径数值设置在0.2左右,接连锐化三次或者四次

44、再次点击图像大小

45、把长边改为我们最终需要的2000像素,接下来保存(关于保存jpg,还需要更改色彩空间和色彩深度,如果不更改,可能会有偏色的情况)

46、点击图像—模式—把16位改为8位
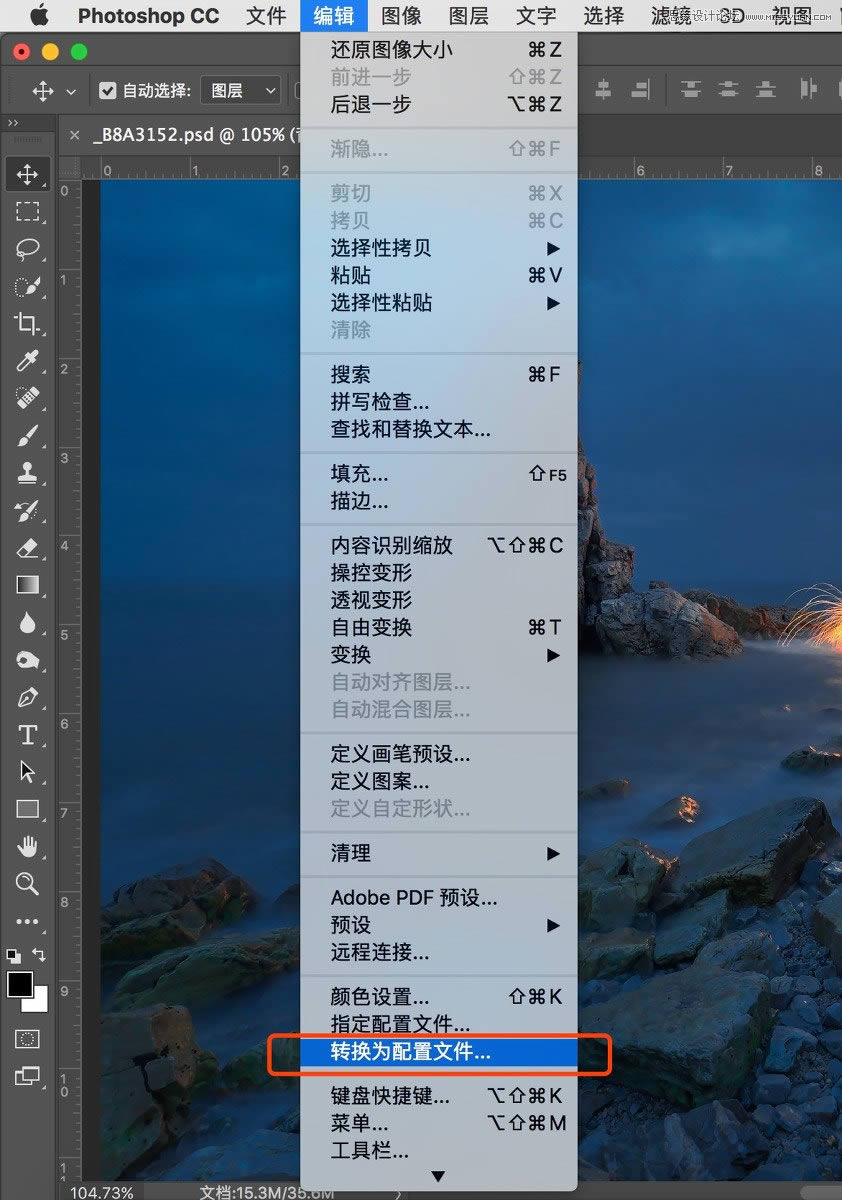
47、点击编辑—转换为配置文件

48、把pro RGB改为sRGB,那到这里基本上从前期拍摄到后期处理全部完成。
Photoshop默认保存的文件格式,可以保留所有有图层、色版、通道、蒙版、路径、未栅格化文字以及图层样式等。
关键词:怎样调出炫丽光影图案效果的PS图文教程